Manufacturing a product: a step-by-step guide (part one)

Part One: production
This is the first in a two-part series, in which we outline the production process. Part Two explains regulations and logistics.
We are often asked at FROLIC studio to explain the production process to clients who want to know exactly what to expect when getting their prototype to market. Creating an item of hardware is an incredibly rewarding experience, but it is a complicated process that relies on many complex parts working together: strategy, industrial design, user-experience, engineering (electronic and mechanical), software development (mobile and backend), dealing with suppliers, quality control, certifications, shipping and import duties. And, of course, our clients and their customers to please. In this article I’ll break down the process, and explore some of the issues and discussions that may arise along the way.
A quick note on development
This article assumes that the final designs and engineering are complete, and we have the final prototype ready for mass-manufacturing. To get to this stage, we’ve already put in a heap of design and development work, with the last stretch focusing extensively on mechanical and electronic engineering.
Most electronic products have three key elements, which I will walk you through in this article.
Okay, let’s dive in.
Step 1: Choosing where to manufacture
This is a big decision. Do you produce locally, or further afield? Every location comes with its own specialisms and list of pros and cons, and you might need to produce different parts of the product in different places before having the parts assembled at a final location.
We usually try to produce close to home if the budget allows, for a multitude of reasons including sustainability, reliability, ease of communication and shared vision. However, this does often cost more.
Looking further afield, China is still one of the most popular choices for production. It offers good value for money, efficiency and expertise in many areas. However, issues around communication and consistency are commonplace, and we recommend working with a sourcing agent if producing in China. More on that in Part Two.
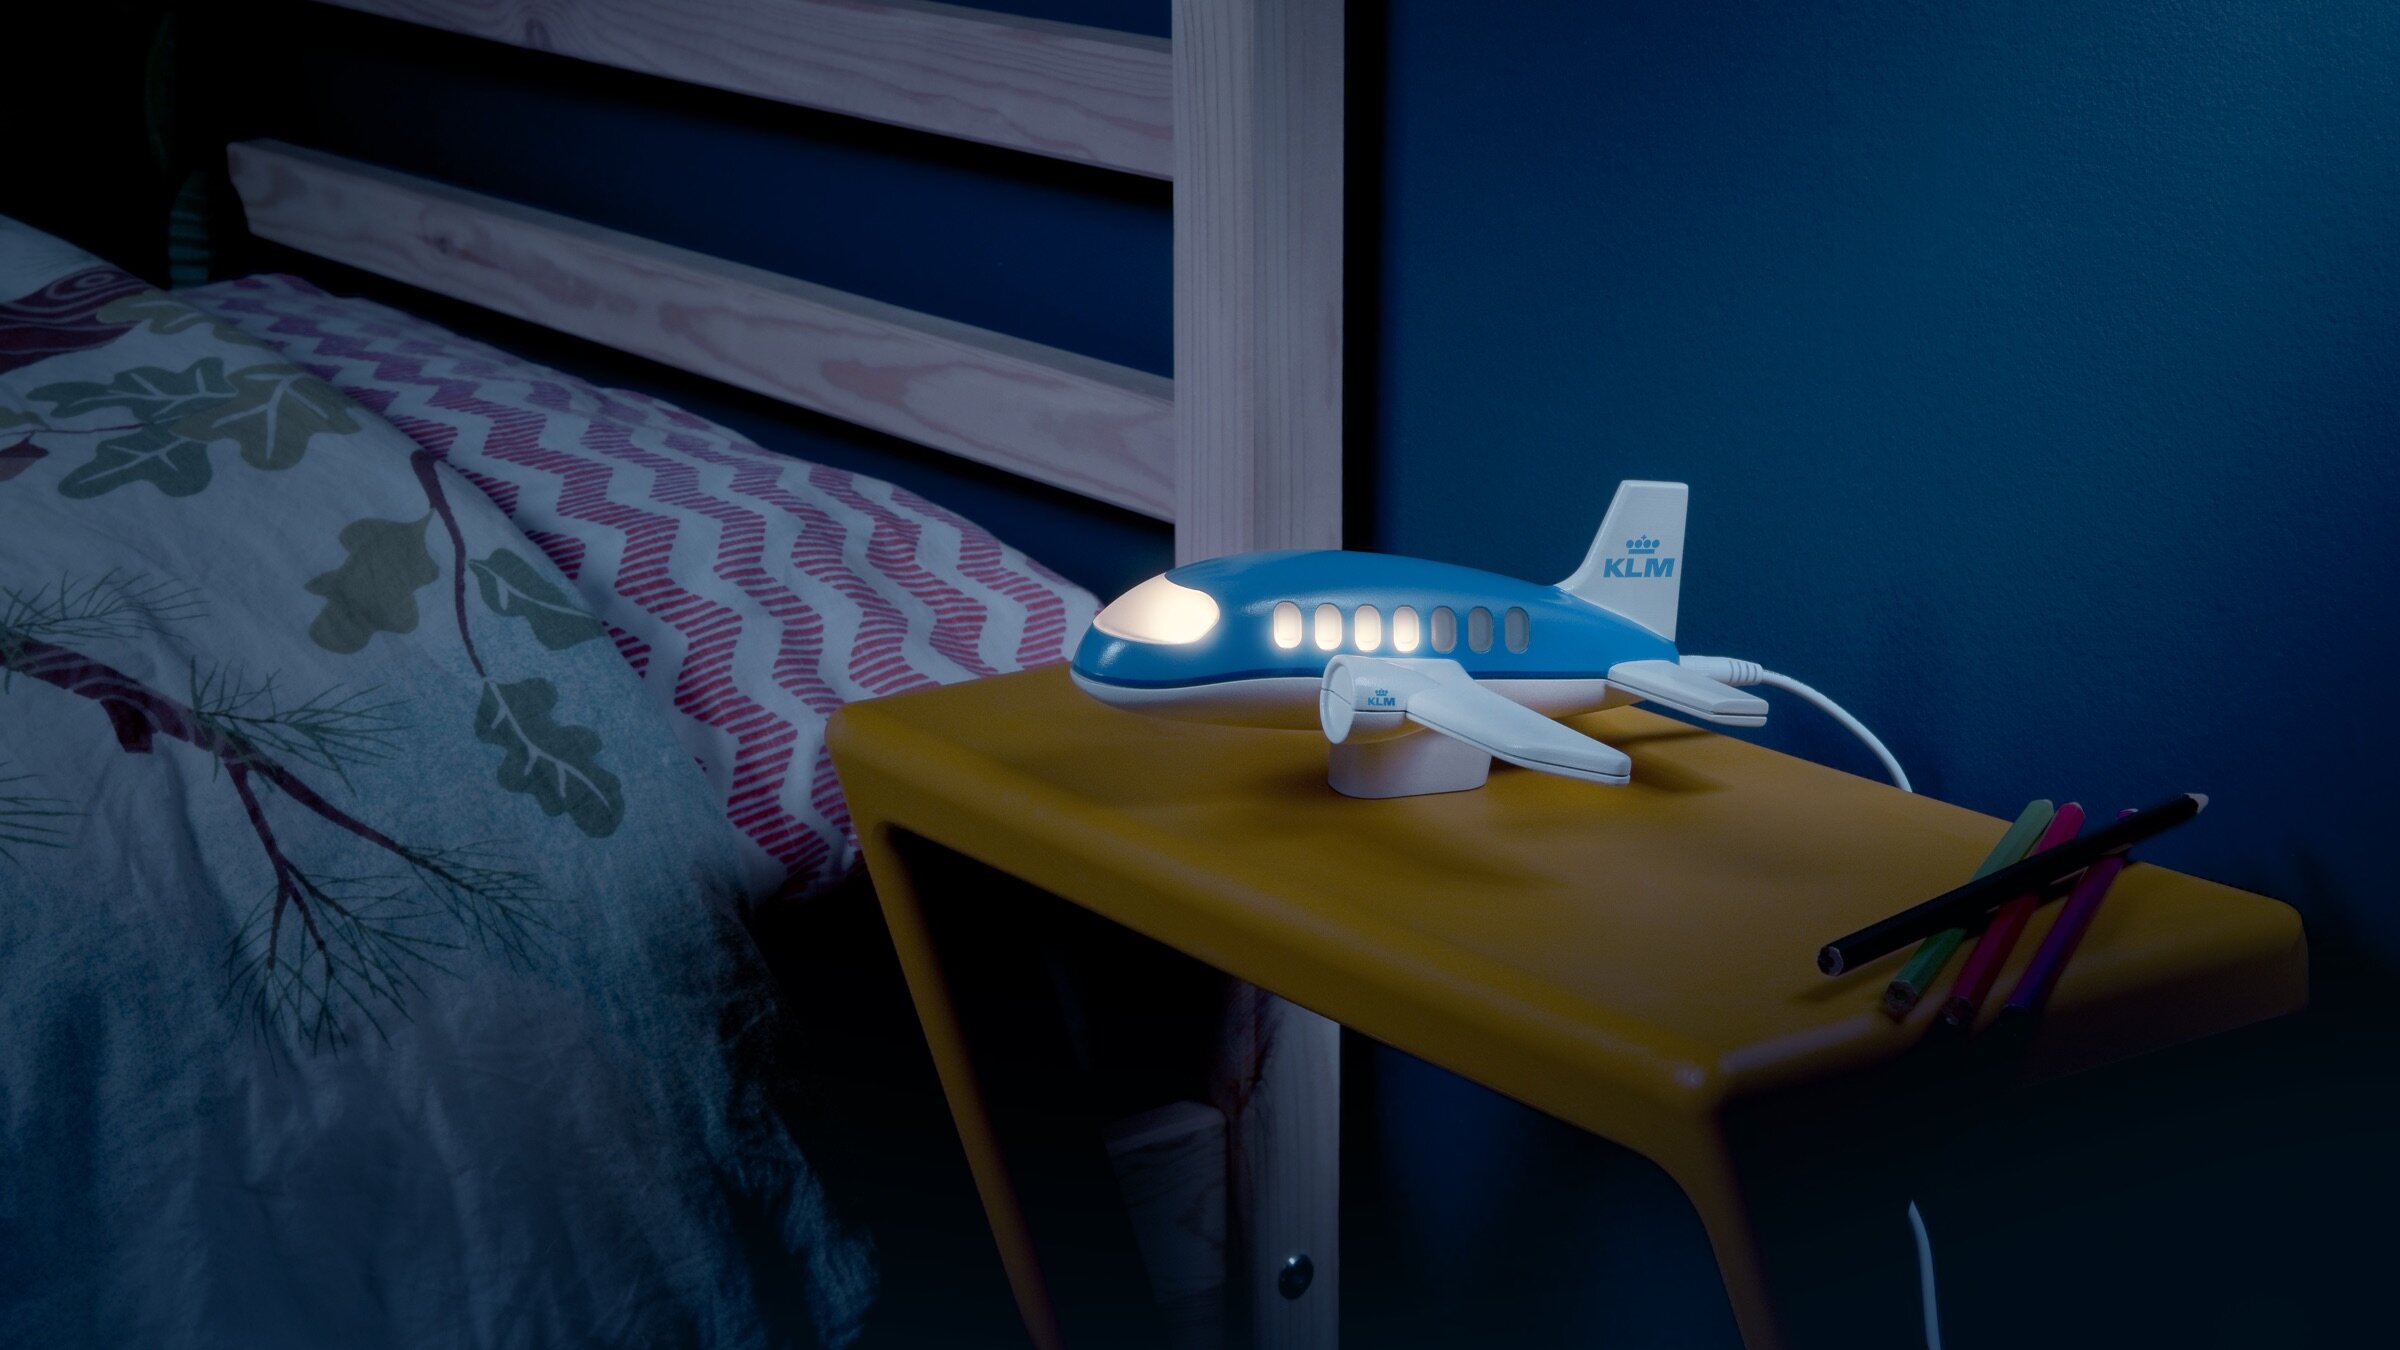
In this article I’ll share our experiences of the KLM Nights Light – which we created for Dutch airline KLM – as a great example of a China-produced product.
Step 2: Plastics and detailing
Invest in a good mould
For better or worse, most consumer electronic products' casing are made of plastic. The use of plastics is always approached consciously, and we’ll discuss that in more detail soon in a future article. But for now, plastic products are created via injection moulding, where hot plastic is melted into a mould of the product.
Moulds are complex to design and expensive to create, so you should expect to pay anything from 10k-50k euros for this part of the process. Moulds are a big investment, but once you have them, the cost per unit goes down significantly as they will last for hundreds of thousands of ‘shots’ (a shot being the moulding of one unit).
If you are producing on a smaller scale, you can save money by creating your mould out of softer materials, such as aluminium. These moulds will only last for a few thousand shots before needing to be replaced, but can be 5-10 times cheaper than their more durable counterparts.
Detailing
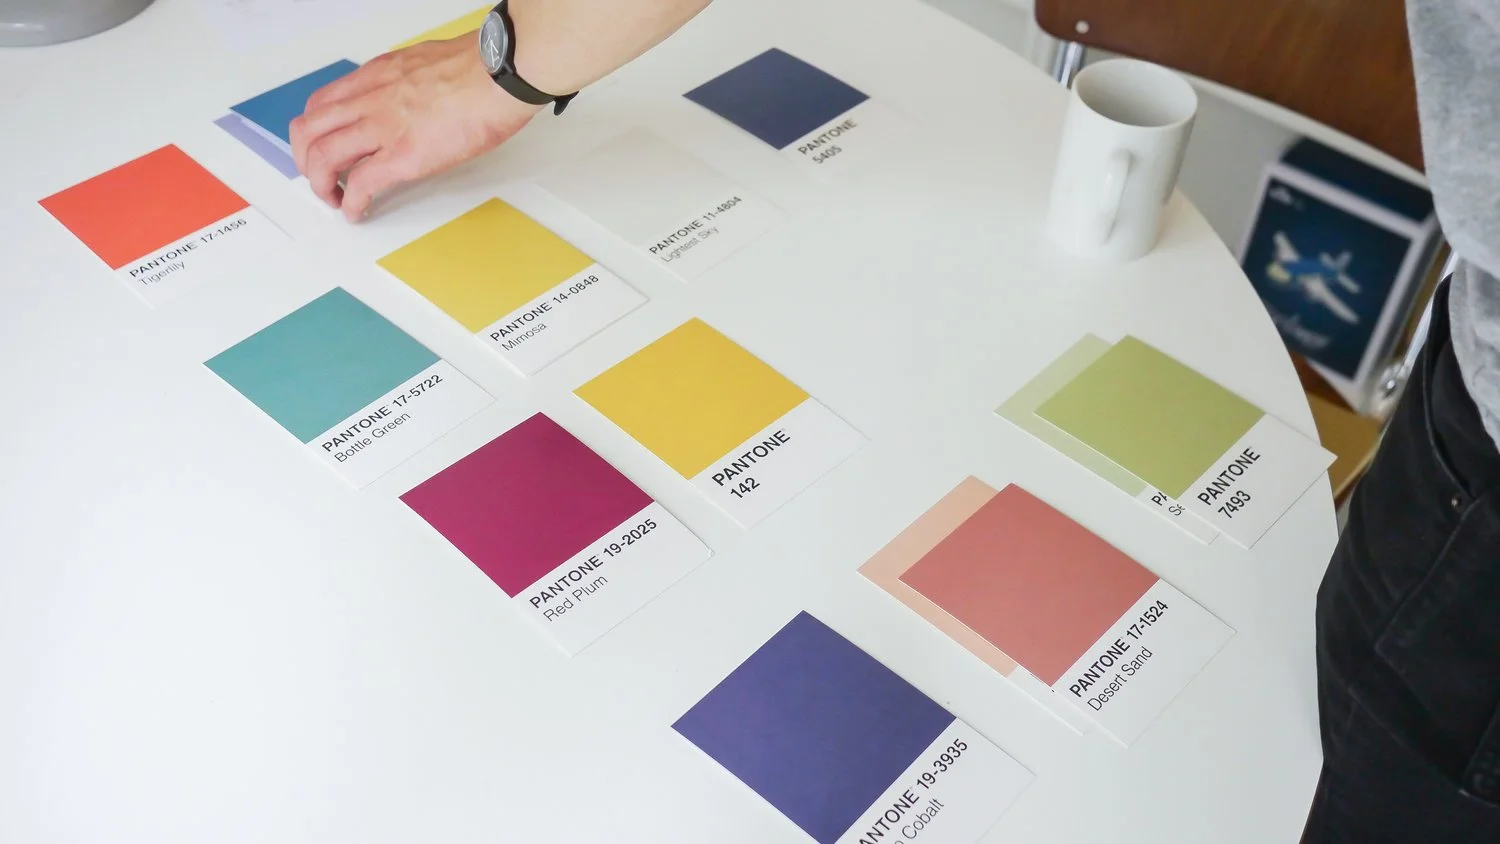
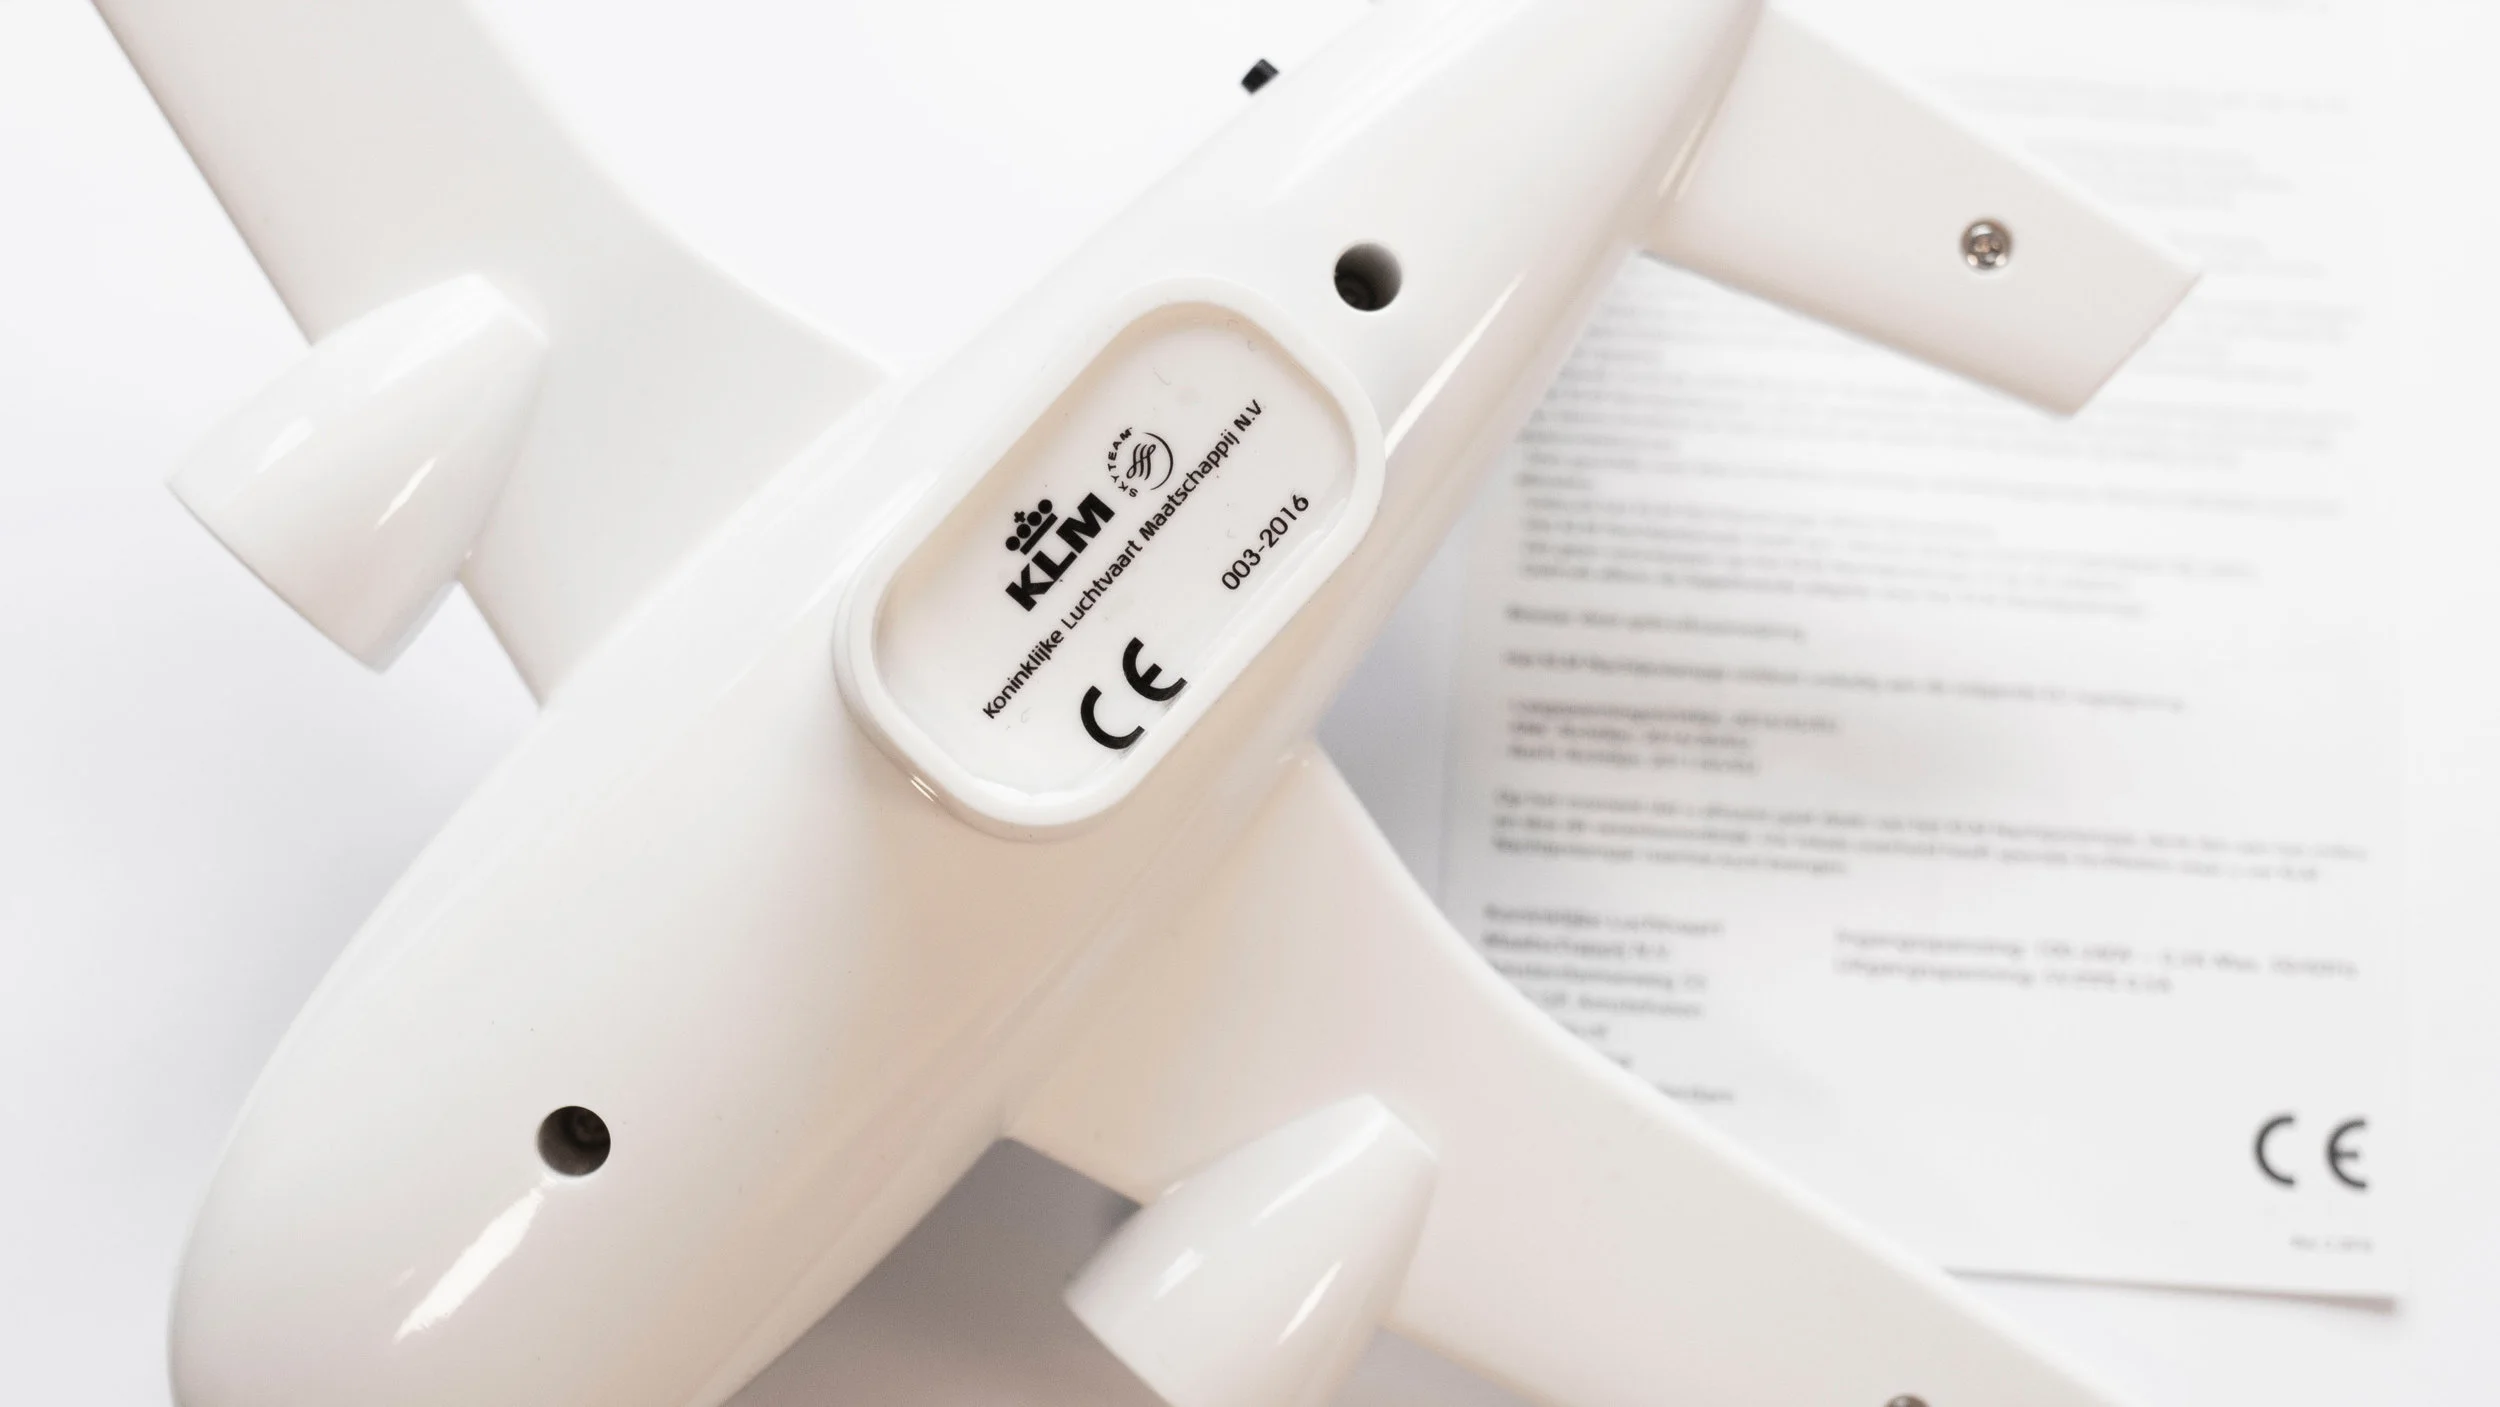
Detailing is the process of turning the bare plastic into a branded product. Usually, the main colour of the product will be the colour of the plastic itself. So you will choose the colour you want, and a master batch will be created by mixing raw plastic with a pigment.
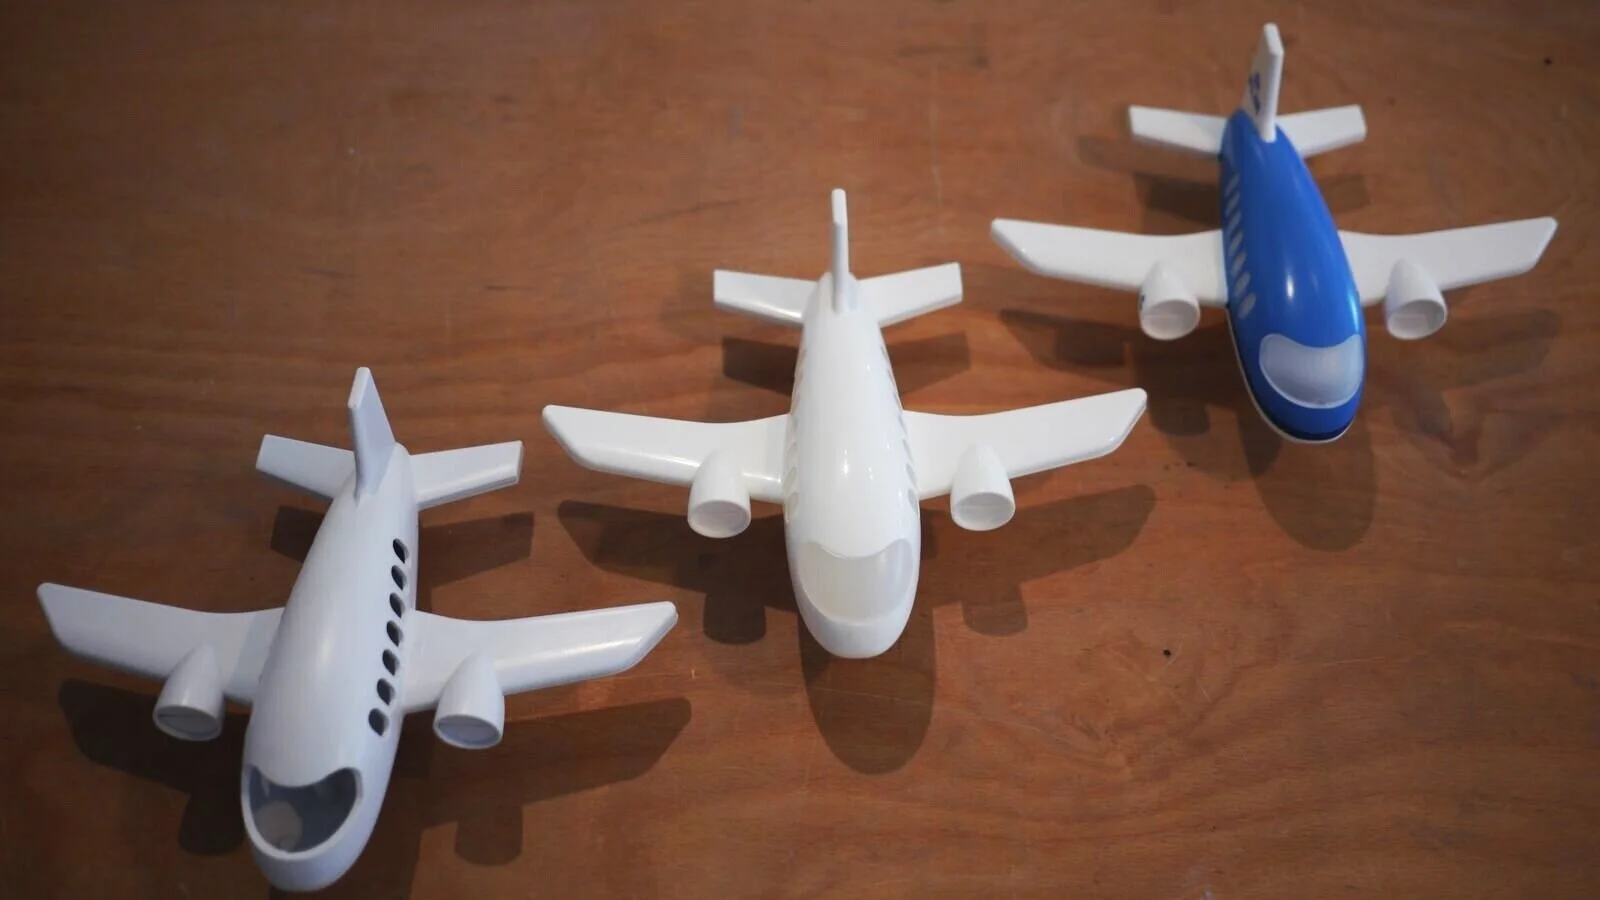
Left to right: mould test, base plastic with no detailing, fully detailed/branded product
We can design the product in separate parts, so each part can be moulded in the right colour, to reduce the amount of painting needed. But usually, you will need do at least some painting, stamping or stickering. All these details should be accounted for in the cost of each unit produced.
Step 3: Electronics and firmware
This is a complex but important part of the production process. Most electronic products will contain a Printed Circuit Board (PCB) that is usually designed at the same time as the casing. This way, all the components can be positioned in the correct place within the product.

Assembling a test unit during the design process
Most embedded computing runs off of a microcontroller, where much of the logic happens. This layer of software on the hardware needs to be programmed, and is what we call ‘firmware’. In large quantities, the chip manufacturer can upload your firmware directly, otherwise this will need to be done during the assembly of the electronics. If the product calls for more complex processes, a computing module (system-on-chip) will be used. Depending on your processing power requirements, the price can climb.
If you are making a connected product (Internet of Things), this will need to incorporate some form of connectivity such as Bluetooth Low Energy, Wi-Fi, GSM, LTE or LoRa. Each of these have their own benefits and drawbacks, with factors including cost, battery life, data-stream speed, range, size and development complexity.
Finally, the product will need to be powered. This can be through the mains via a power supply, or via a single-use or rechargeable battery. Usually, we would find suppliers that already manufacture power supplies or batteries, and you can choose the right specs for your product. Make sure to choose one that already has the required certifications (see my advice on certification in Part Two).

Burn test: power supplies are run for an extensive amount of time as part of the quality assurance process
The cost of the electronics is usually a combination of the Bill of Material (BOM), which includes all the components, the printing of the PCB and finally the assembly. The assembly happens at a factory that places all the components on the PCB, heats them up so that they bind, and finally carries out quality control by testing the functionality. Depending on complexity, electronics can often account for the bulk of the product cost.
Step 4: Packaging and final assembly
Packaging
First impressions count, and packaging – whether purely functional or stylish - needs to be carefully thought about. Packaging can vary hugely in quality and complexity, and, of course, cost. From less than one euro for a simple custom cardboard box with Styrofoam, to five euros for a heavyweight cardboard and quality foam, the packaging should be designed to suit the product.

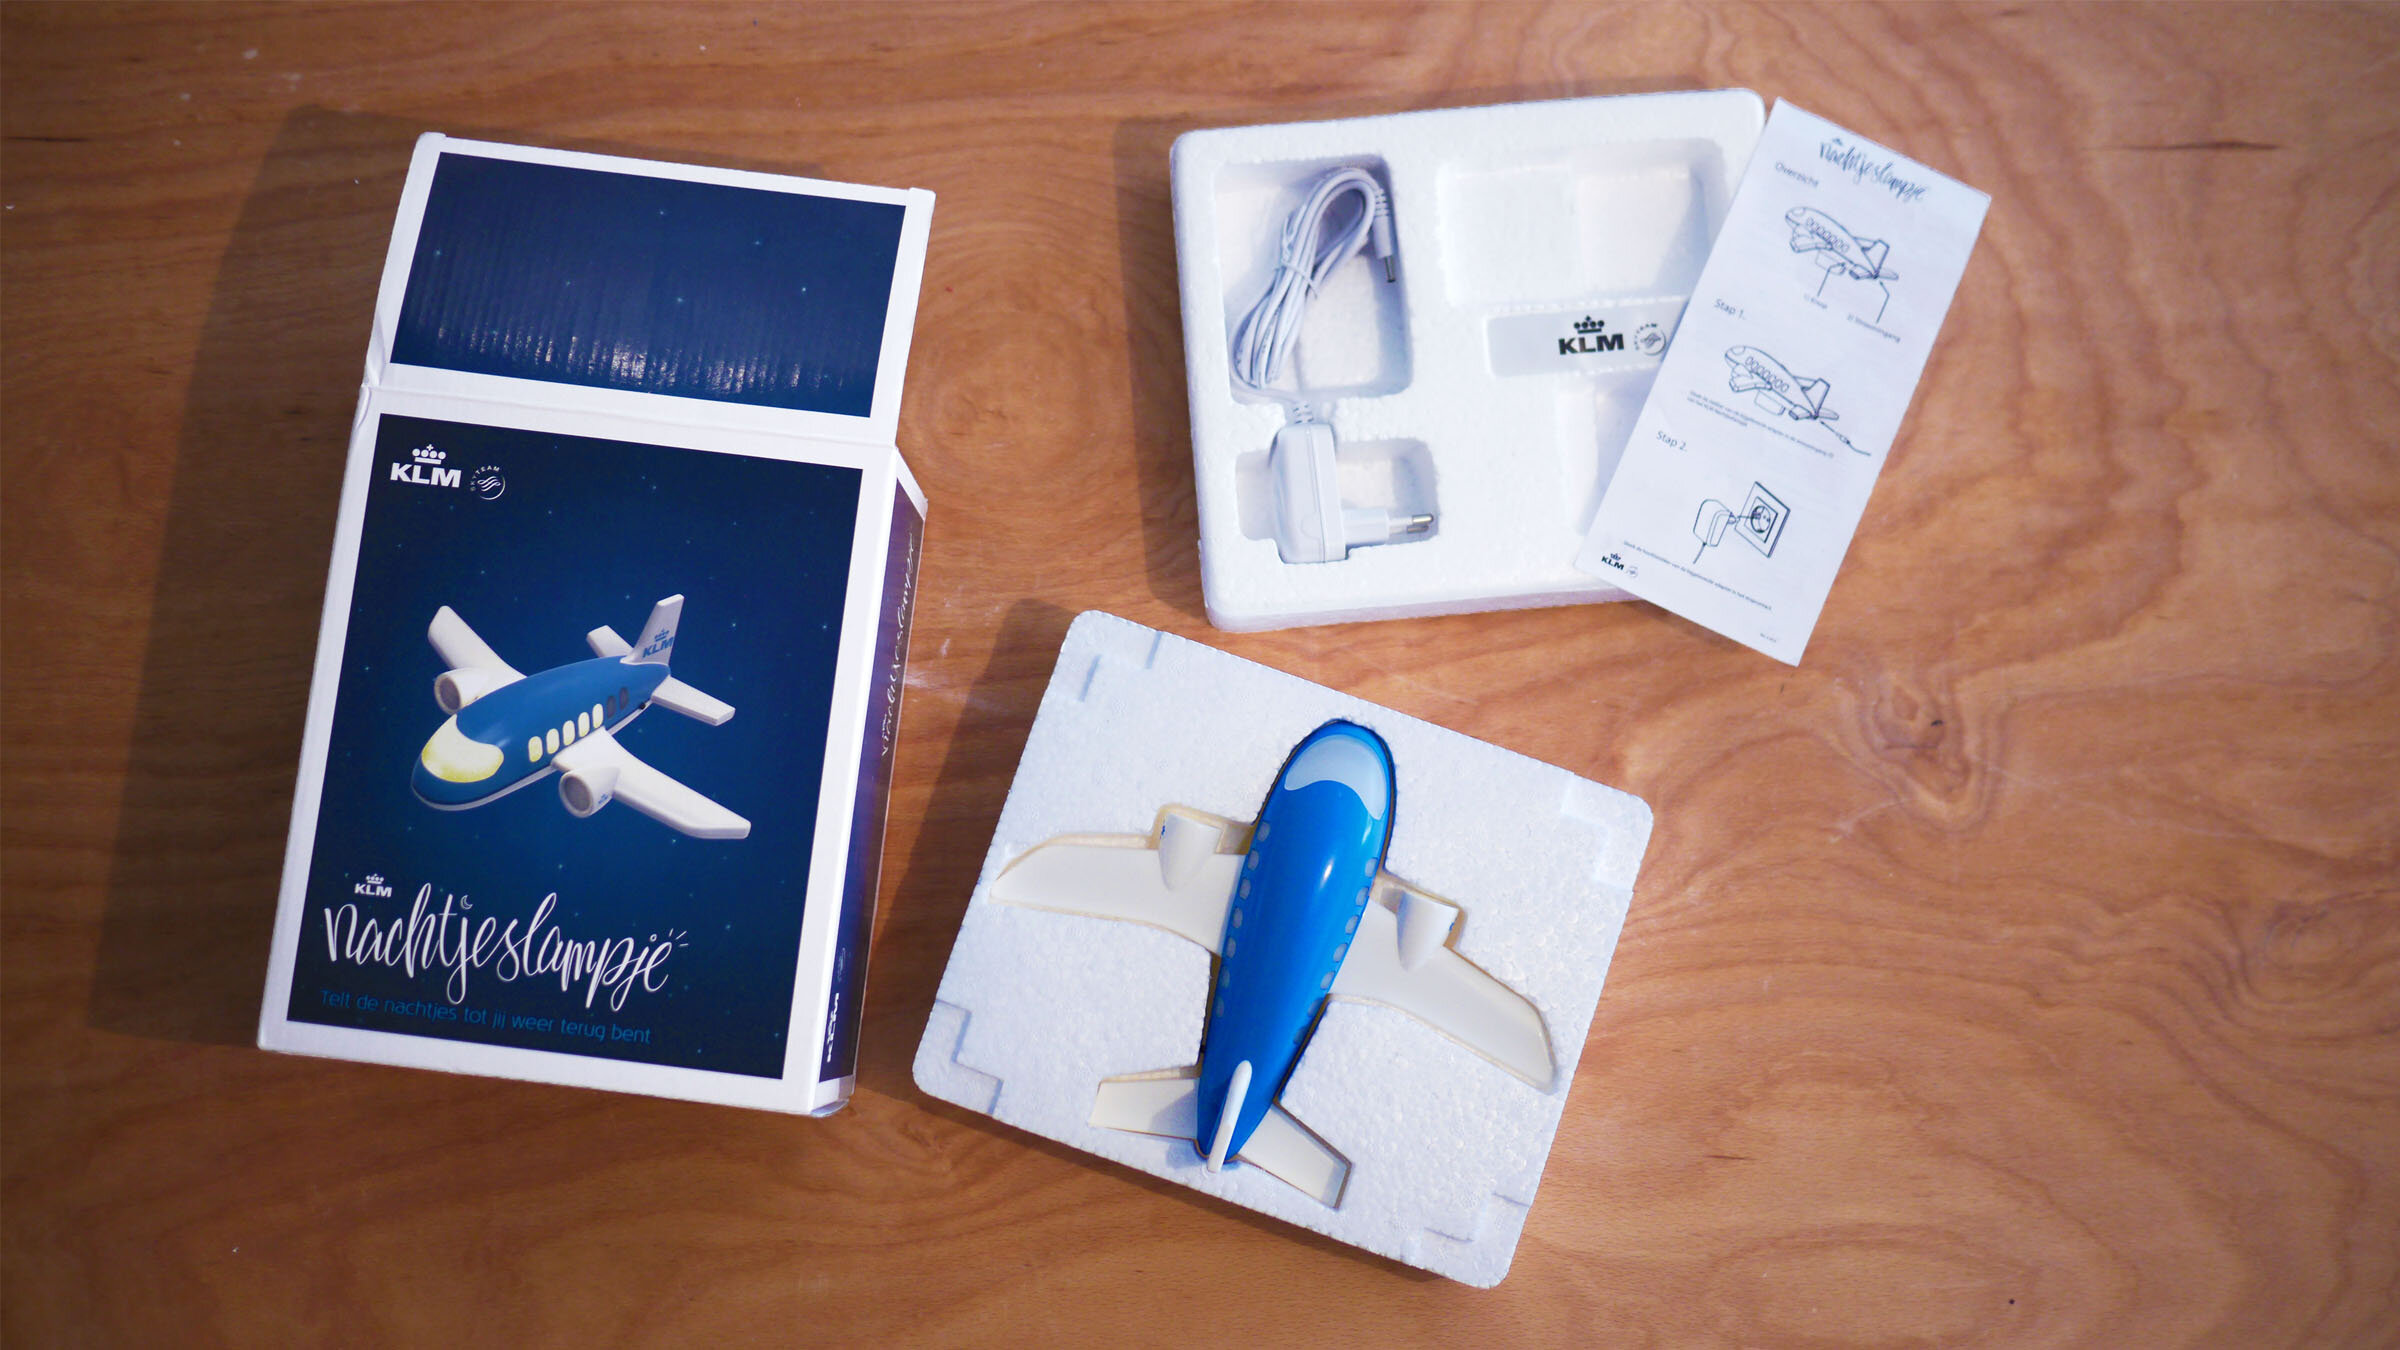
Assembly
Up until this point, different parts of your product have been made by various factories – for practical reasons and strategic ones (to avoid that a single party has all the files for easy replication without our knowledge). So now it needs to all be transported to one location, have the electronics placed inside the plastic, closed up, quality checked, and packaged up with a manual, if needed. Finally, the finished products are all placed into master cartons – a bunch of units in large cartons, which are then combined onto pallets for shipping. The cost of this process is tied in with the assembly time, but usually accounts for a euro or so extra.
Step 5: To infinity, and beyond
Congratulations, your product is a success! So what now? Well, you should think about making more units. That’s no problem – usually the factories are keen to do this and have stored your moulds for such an eventuality (but do make sure to include this as a term while negotiating your contract) and the process is not too demanding. The main things to note are:
You will need pay startup costs for the various factories, and the prices of your materials and components may vary based on the market and exchange rate.
You’ll have to fit into their schedule, so you might wait weeks or even months for a slot.
Your sourcing agent will need to be paid again for a new round of work.
There’s sometimes a tendency for factories to be less rigorous on the later batches. It is crucial to remain sharp and not let anything slide. We’ve had issues with the colour of the LEDs not being as warm as the previous batches, and had to fight the supplier on this.
Interested in reading about the logistics around manufacturing a product? Head over to Part Two.
Do you have a great product idea that you’d like to get off the ground? We can help with that! We’re a full-service studio so we can help with everything from concept to delivery – just get in touch or pop in for a coffee.
Explore more articles